
Norway, with its breathtaking landscapes, rich cultural heritage, and vibrant cities, is a popular destination for travelers. If you’re planning to visit Norway for tourism, you may need a Norway visa, also known as a Schengen visa, depending on your nationality. This visa allows you to visit Norway and other Schengen countries for up to 90 days within a 180-day period. Applying for a Norway tourist visa can seem like a daunting task, but with the right guidance, the process can be straightforward.
This guide covers the entire visa application process, from completing the online form to submitting documents at the Visa Application Center (VAC) and receiving your visa. By following these steps, you can ensure a complete and properly submitted application, making your trip to Norway smooth and hassle-free. Whether you’re applying for a visa for the first time or need specific details on the Norway visa process, this guide will help you navigate it efficiently.
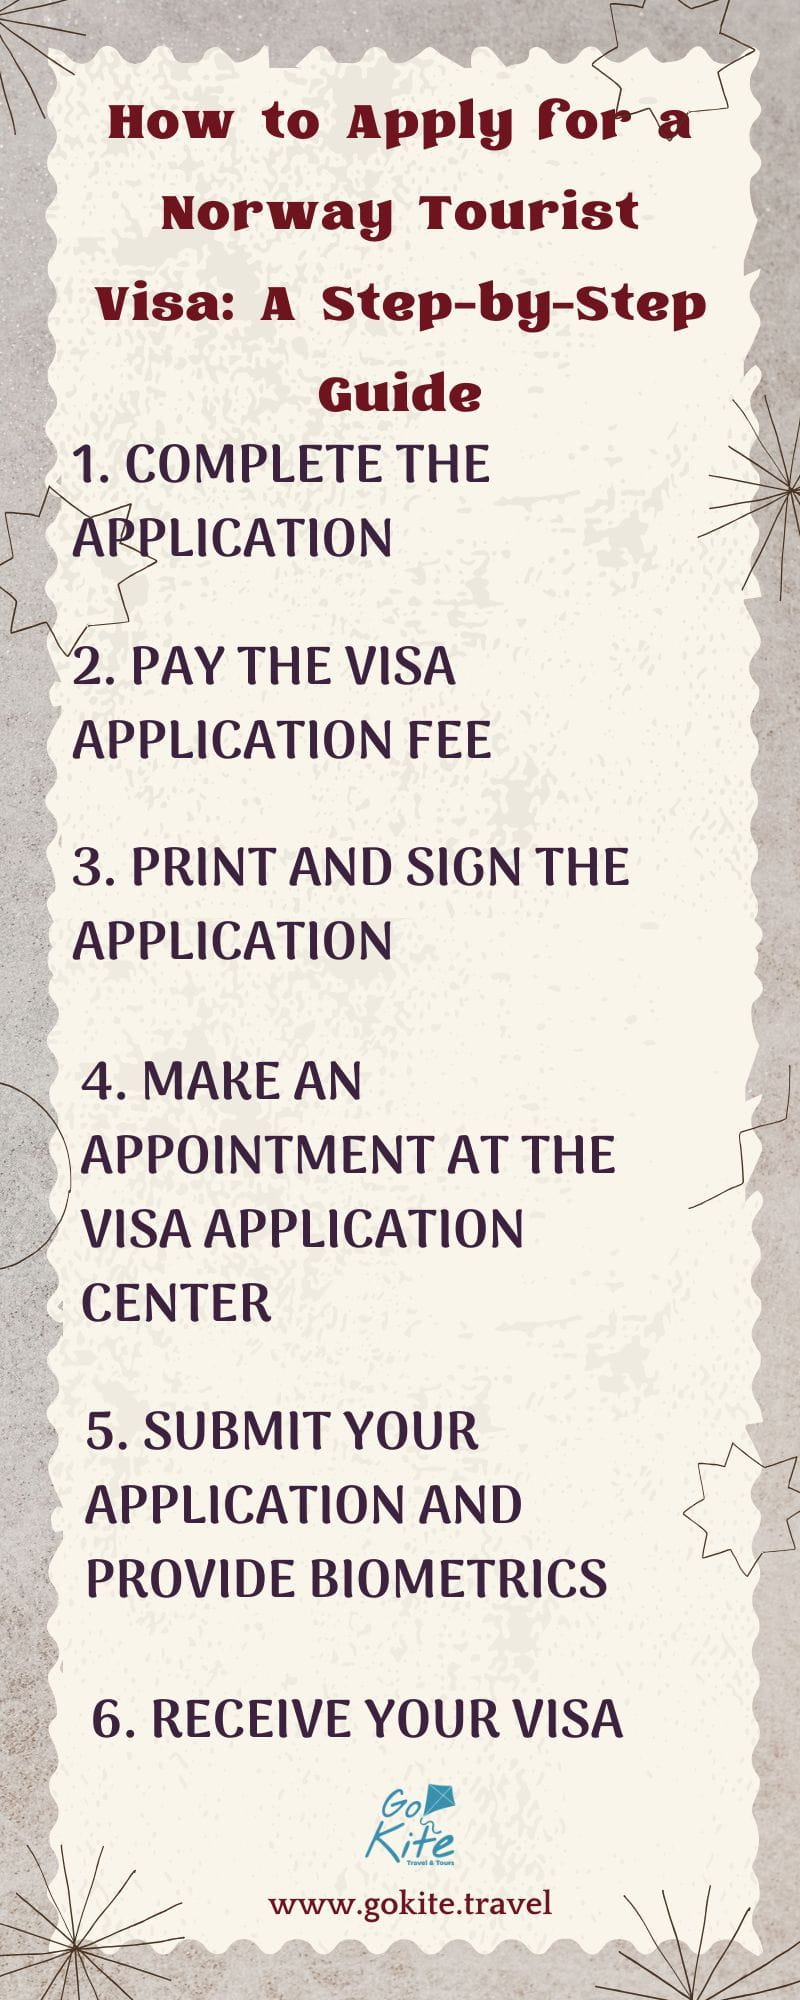
Here are some tips on how to apply for a Norway tourist visa: A Step-by-Step Guide
1. Complete the application: The first step in applying for a Norway tourist visa is to complete your application form. This can be done online through the UDI website (the Norwegian Directorate of Immigration). The online application process is user-friendly and guides you through all the necessary fields. You can use visa services like Akbar Travels or iVisa to simplify the process, especially if you’re new to applications. They help fill out and submit your form.
2. Pay the Visa Application Fee: Once you’ve completed the application form, the next step is to pay the visa application fee. The fee must be paid online through the UDI or visa service website. The Norway tourist visa fee is usually around 80 euros, but it can vary based on nationality and application details. Ensure that you keep a copy of the payment confirmation, as you may need it later during the application process.
3. Print and sign the application: After submitting the application form and fee, you’ll receive a confirmation email from UDI with your application number and a PDF of your completed visa application. Print and sign this form, ensuring all information is correct before submission.
4. Make an appointment at the Visa Application Center (VAC): Print and sign the application, then schedule an appointment at a Visa Application Center (VAC) to submit documents and provide biometrics. This can be done electronically on the VFS website, which handles Norway visa applications in many countries. Booking an appointment in advance is crucial, as VACs can get busy, especially during peak travel seasons. It’s advisable to make your appointment as early as possible to avoid delays in your travel plans.
5. Submit Your Application and Provide Biometrics: On the day of your appointment, you will need to visit the VAC in person to submit your visa application, supporting documents, and biometrics. The VAC will collect your biometrics, which include your photograph and fingerprints. Biometrics are required for security purposes and to verify your identity. Bring all required documents: passport, travel itinerary, travel insurance, accommodation proof, and financial means proof. Failing to provide any required documents may delay your visa processing or result in rejection.
6. Receive Your Visa: After submitting your application and providing your biometrics, the processing time for a Norway tourist visa typically takes around 15 days. However, during peak seasons, it may take longer. After approval, you’ll get your visa at the VAC or by post, as chosen during your application. It permits travel to Norway for up to 90 days in a 180-day period.
Additional Considerations for a Norway Tourist Visa: While the above steps outline the basic process of applying for a Norway tourist visa, there are a few other important things to keep in mind to ensure a smooth and successful application.
Valid Passport: Your passport must meet certain criteria for your visa application to be accepted. It must be issued within the last 10 years and should be valid for at least three months beyond your intended stay in Norway. Additionally, your passport must have at least two blank pages for the visa stamp. Always double-check your passport’s validity before starting your visa application process to avoid any last-minute issues.
Travel Insurance: One of the requirements for obtaining a Norway tourist visa is valid travel insurance. The insurance policy must cover medical emergencies, accidents, and repatriation for at least 30,000 euros. Ensure your insurance covers your stay in Norway and any other Schengen countries you plan to visit. It is crucial to submit proof of travel insurance along with your visa application.
Proof of Financial Means: You must prove that you have enough financial means to cover your stay in Norway. You can provide bank statements, income proof, or sponsorship letters from the person or entity covering your expenses. The Norwegian government requires that visitors have sufficient funds to cover their travel, accommodation, food, and return trip. Failing to demonstrate sufficient financial support can lead to the rejection of your visa application.
Schengen Entry Rules: When you apply for a Norway tourist visa, you must not face any prohibitions on entering Norway or any other Schengen country. If you have previously overstayed a visa or violated immigration laws in the Schengen area, your application may be denied. Therefore, it’s essential to comply with all Schengen entry rules.
Parental Consent for Minors: If you’re under 18, you need a signed consent form from both parents or guardians when applying for a Norway tourist visa. If only one parent has custody, that parent must present the appropriate legal documentation to prove it.
Invitation Letter: If you’re visiting friends or family in Norway, you may need to provide an invitation letter. It should include your relationship, the visit’s purpose, and how they’ll assist you.
Conclusion
Applying for a Norway visa is a manageable process if you follow the required steps carefully. From filling out the online application to submitting documents and biometrics at the Visa Application Center (VAC), every step is crucial for a successful visa application. Double-check your documents, such as your passport, proof of funds, and travel insurance, to prevent delays or rejections.
Once you submit your application, processing usually takes around 15 days but may vary during peak travel seasons. With the visa, you’re ready to explore Norway’s stunning landscapes, history, and modern cities. By following this guide, you can streamline the process and enhance your chances of receiving your Norway visa in time for your trip.
Before applying, ensure you meet all eligibility criteria, including the purpose of your visit and the length of stay. Familiarize yourself with the specific requirements for your nationality, as these can vary. Staying organized and understanding the necessary documentation will make the process smoother and less stressful.
After receiving your visa, take advantage of the opportunity to plan your itinerary. Norway offers a wealth of experiences, from breathtaking fjords to vibrant cities like Oslo and Bergen. Embrace the adventure, knowing that thorough preparation has set the stage for an unforgettable journey through this beautiful country.
Finally, don’t forget to stay updated on any travel advisories or changes in visa regulations before your departure. Keeping informed will help you navigate potential challenges and ensure a seamless travel experience. With the right planning and knowledge, your trip to Norway can be as enriching and enjoyable as you envision.
Also Check Out: